
Side Dishes
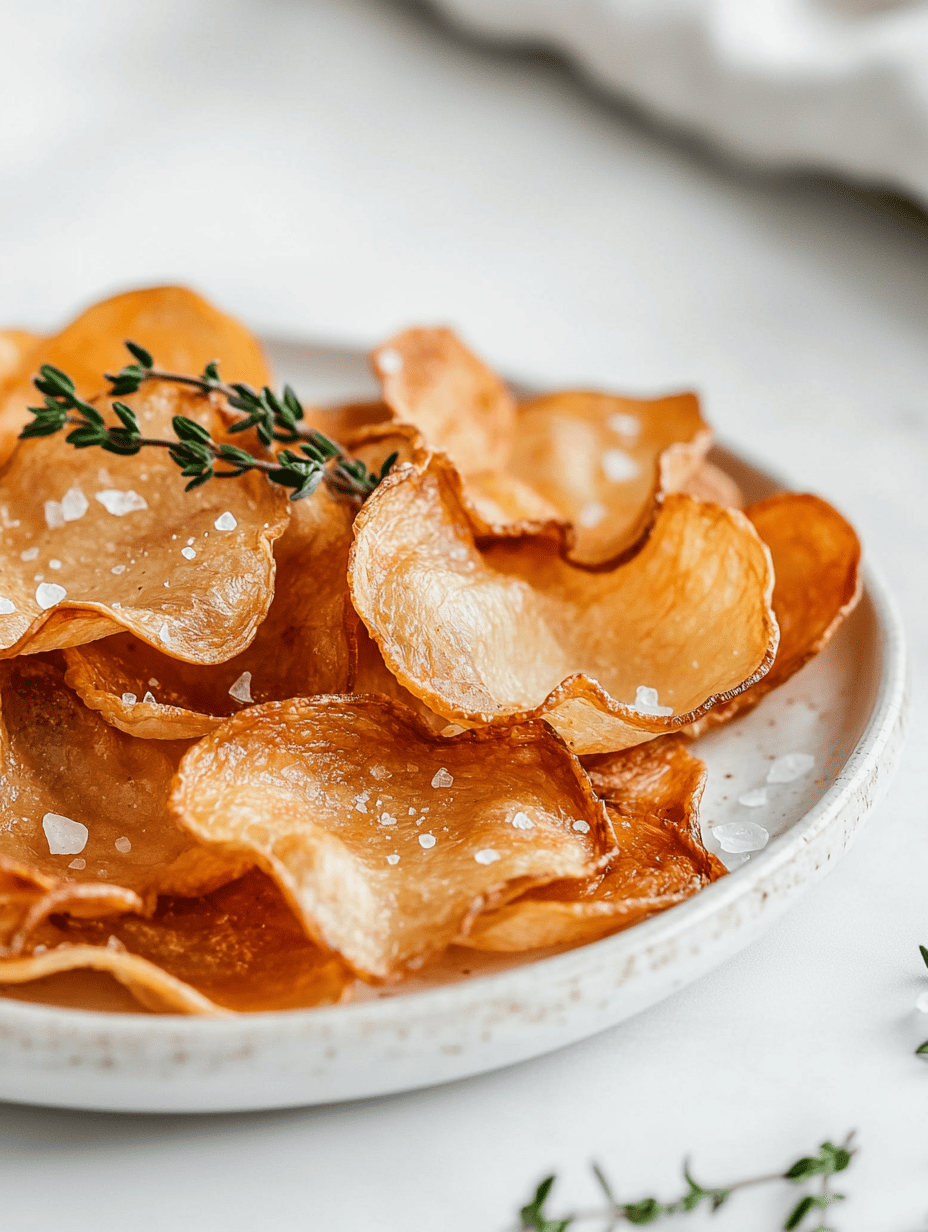
Tennessee Onions: The Crispy Secret You Didn’t Know You Needed
I’ve always thought of onions as humble, almost background players in cooking. But frying them until they’re crispy and caramelized ...
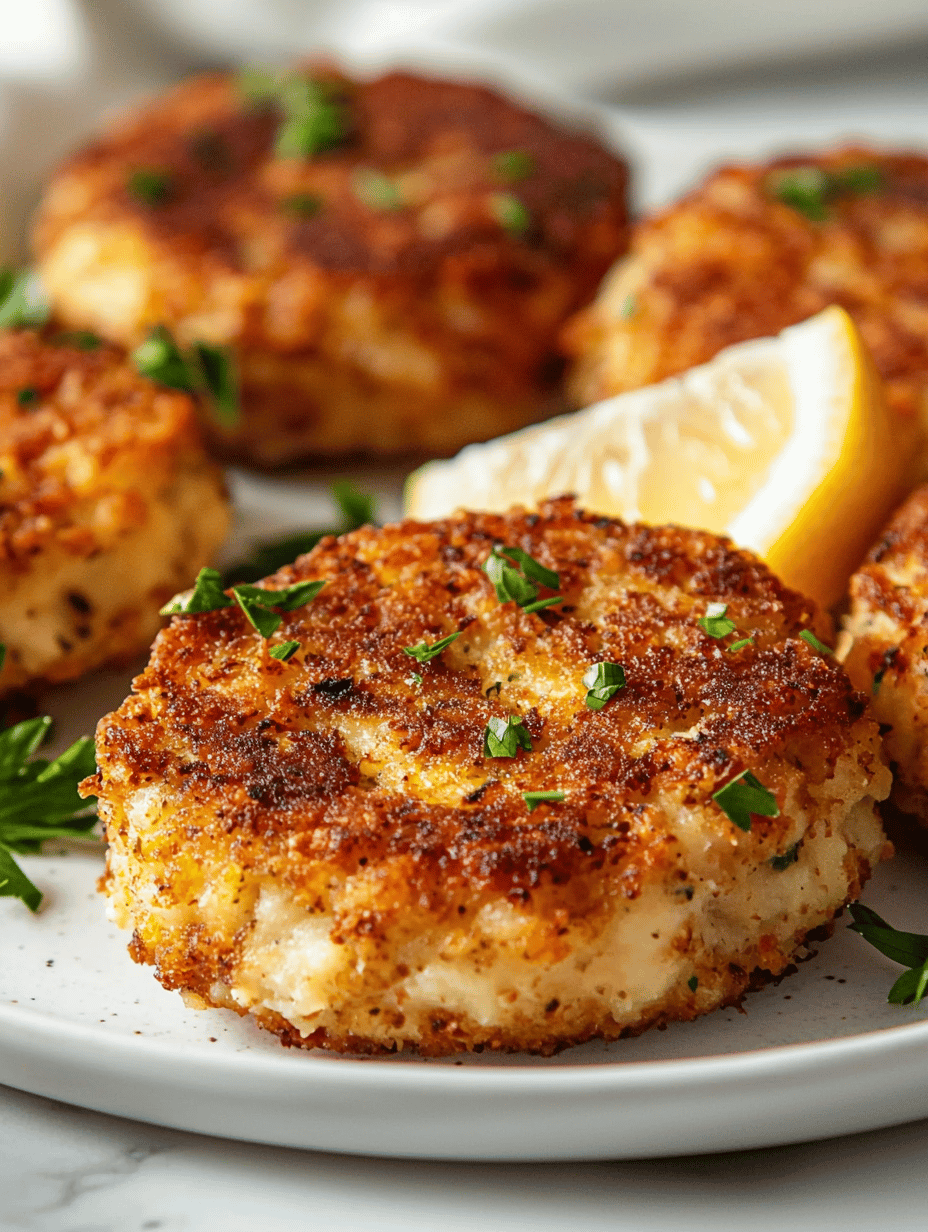
Herb-Infused Mashed Potato Patties That Reshape Your Comfort Food Game
Why I Love This Recipe (And You Will Too) It’s not just about the crispy edges or the fresh pop ...
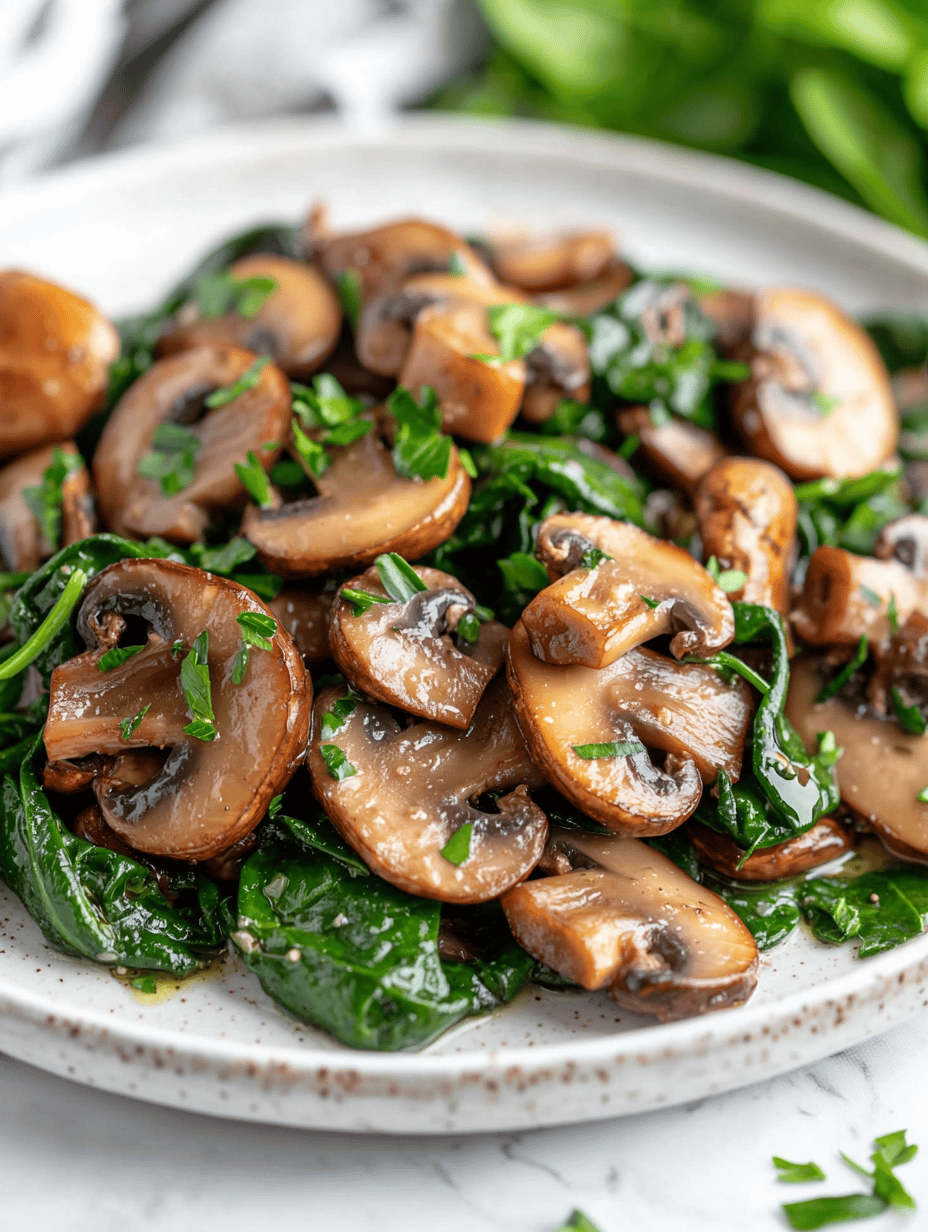
Sauteed Mushrooms with Spinach: The Unexpected Side That Steals the Show
Why I Love This Recipe (And You Will Too) The first time I made this, I was drunk on the ...
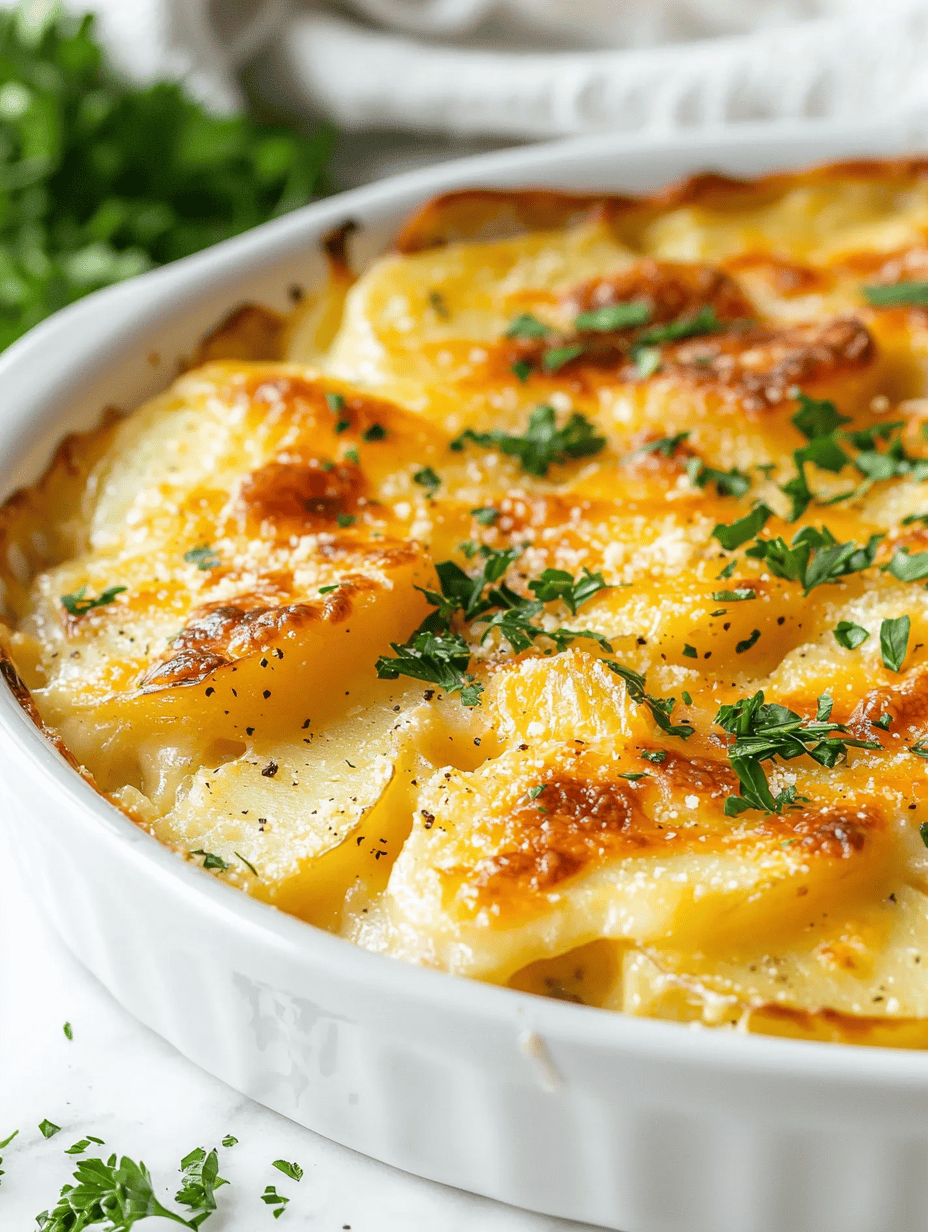
The Unexpected Charm of Cheesy Scalloped Potatoes: A Comfort Food with a Twist
I started making these potatoes when I realized I was out of my usual go-to sides. But then I found ...
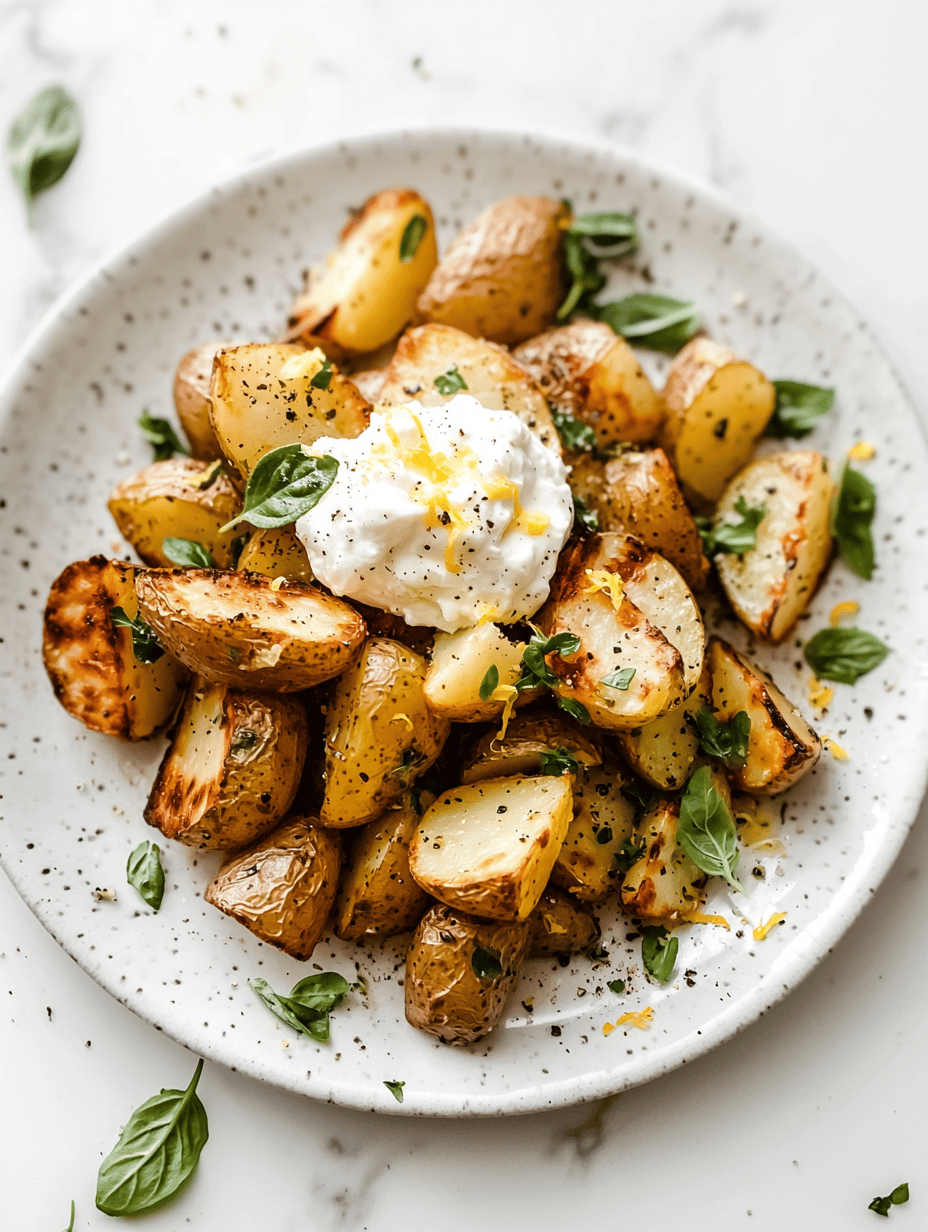
Greek Roasted Potatoes with Whipped Feta That Will Change Your Snack Game
I kept thinking about how potatoes get this crispy, almost crackly skin where the edges curl up, and inside they ...
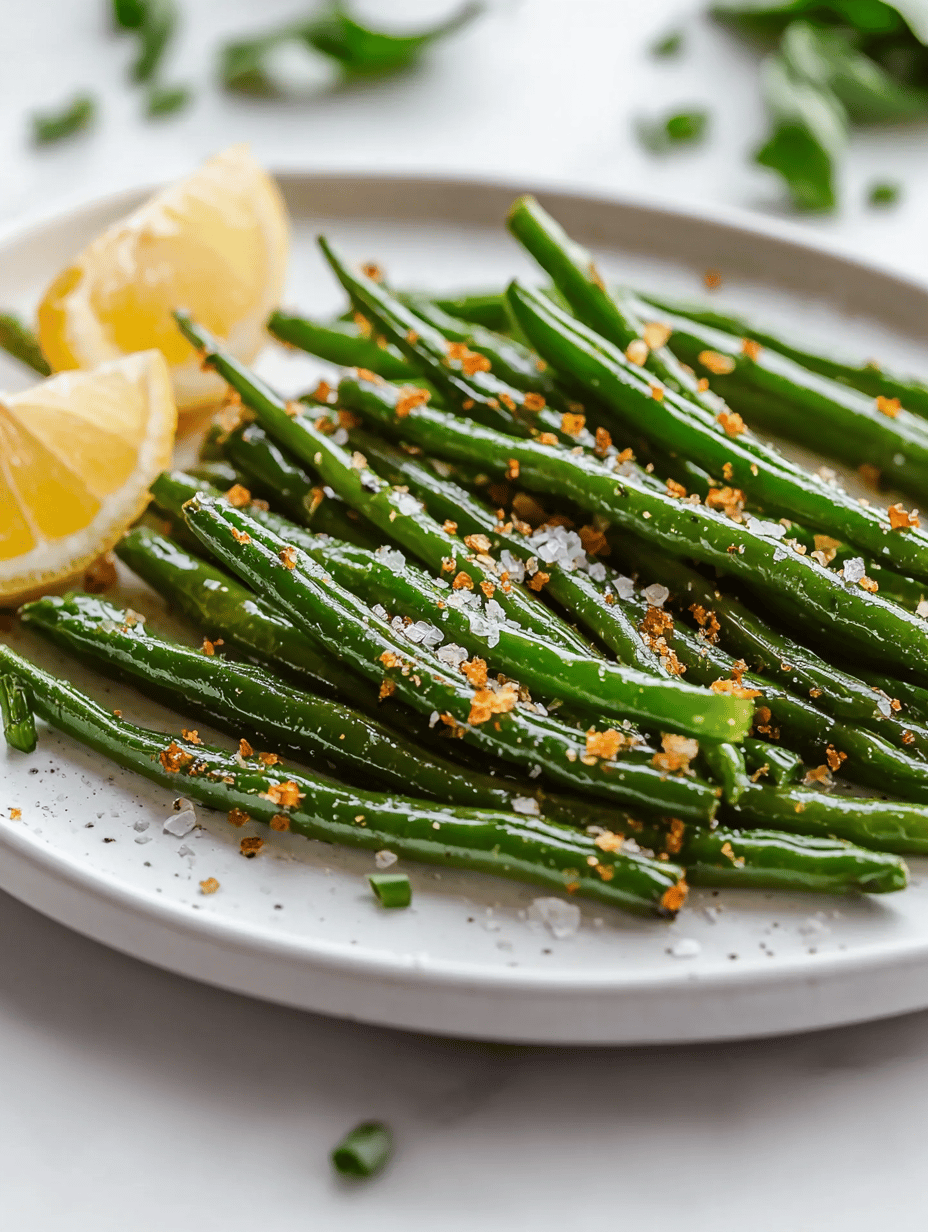
Why Green Beans in the Air Fryer Feel Like a Tiny Miracle
I never thought about green beans this way before. The secret isn’t just oil or seasoning—it’s the way they crisp ...
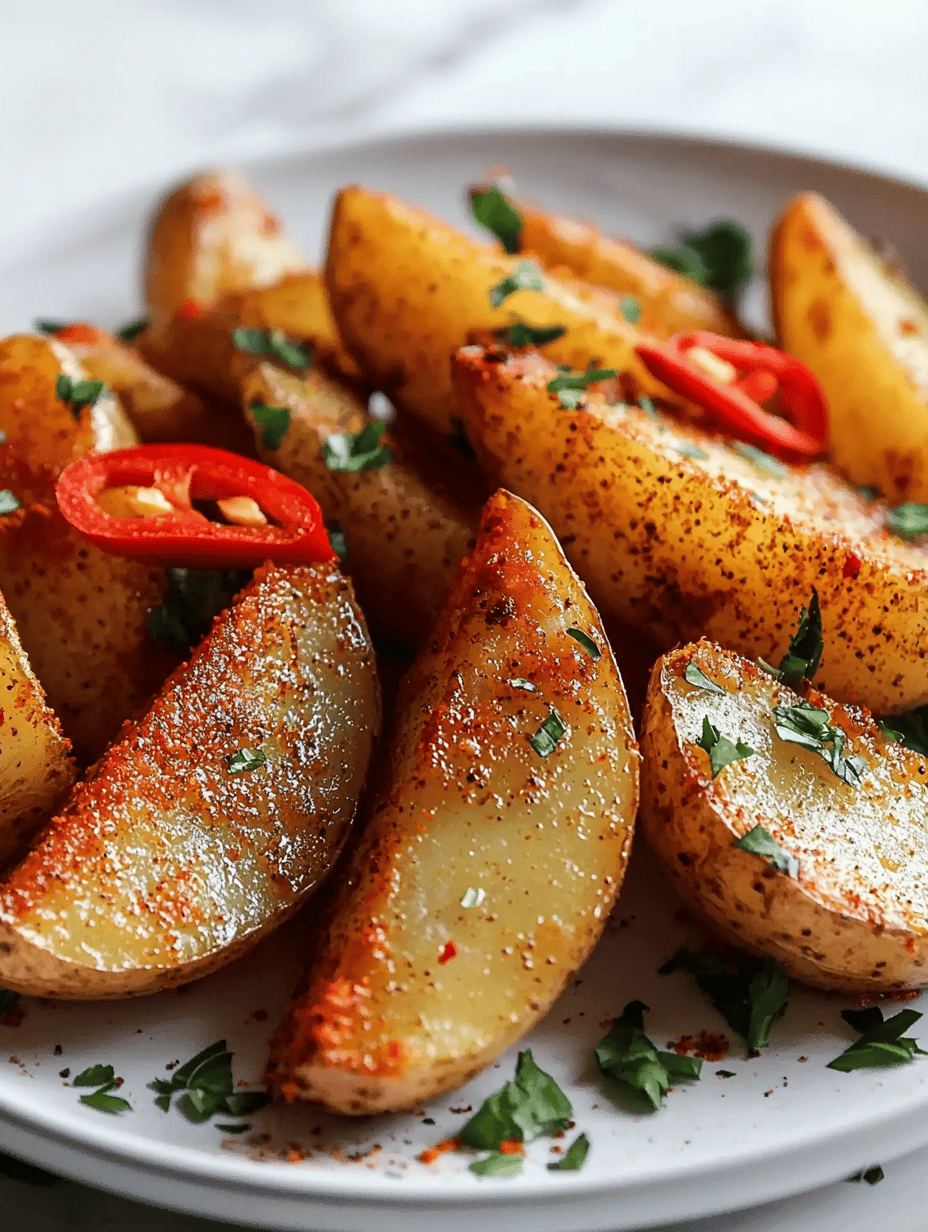
The Secret Edge of Baked Potato Wedges That No One Talks About
Some nights, I crave that crisp snap you get when breaking into a fresh bag of potato wedges, but I’m ...
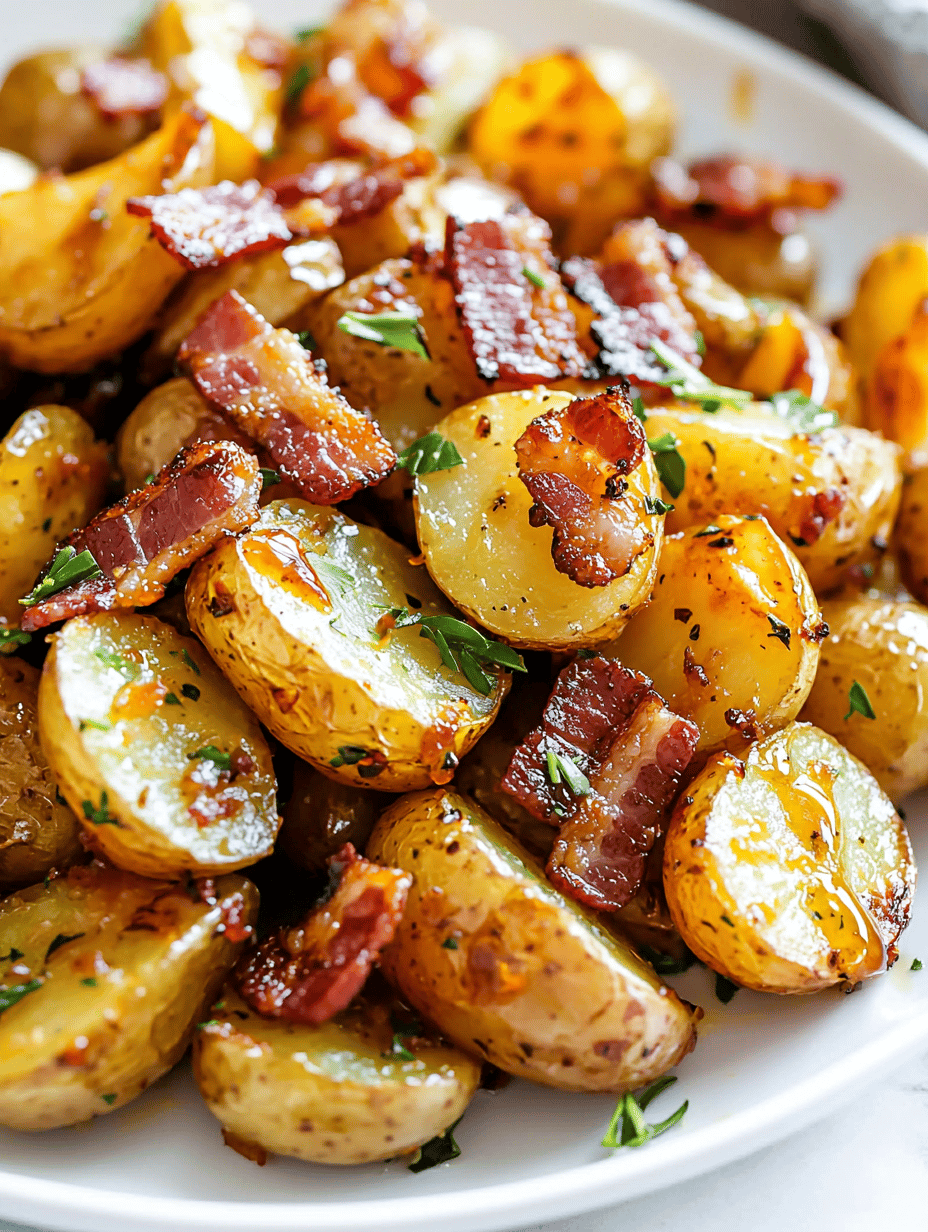
Sweet & Crispy Honey Bacon Roasted Potatoes That Surprise Your Taste Buds
I used to ignore roasted potatoes. They just seemed, I dunno, plain? Then I realized these become something entirely different ...
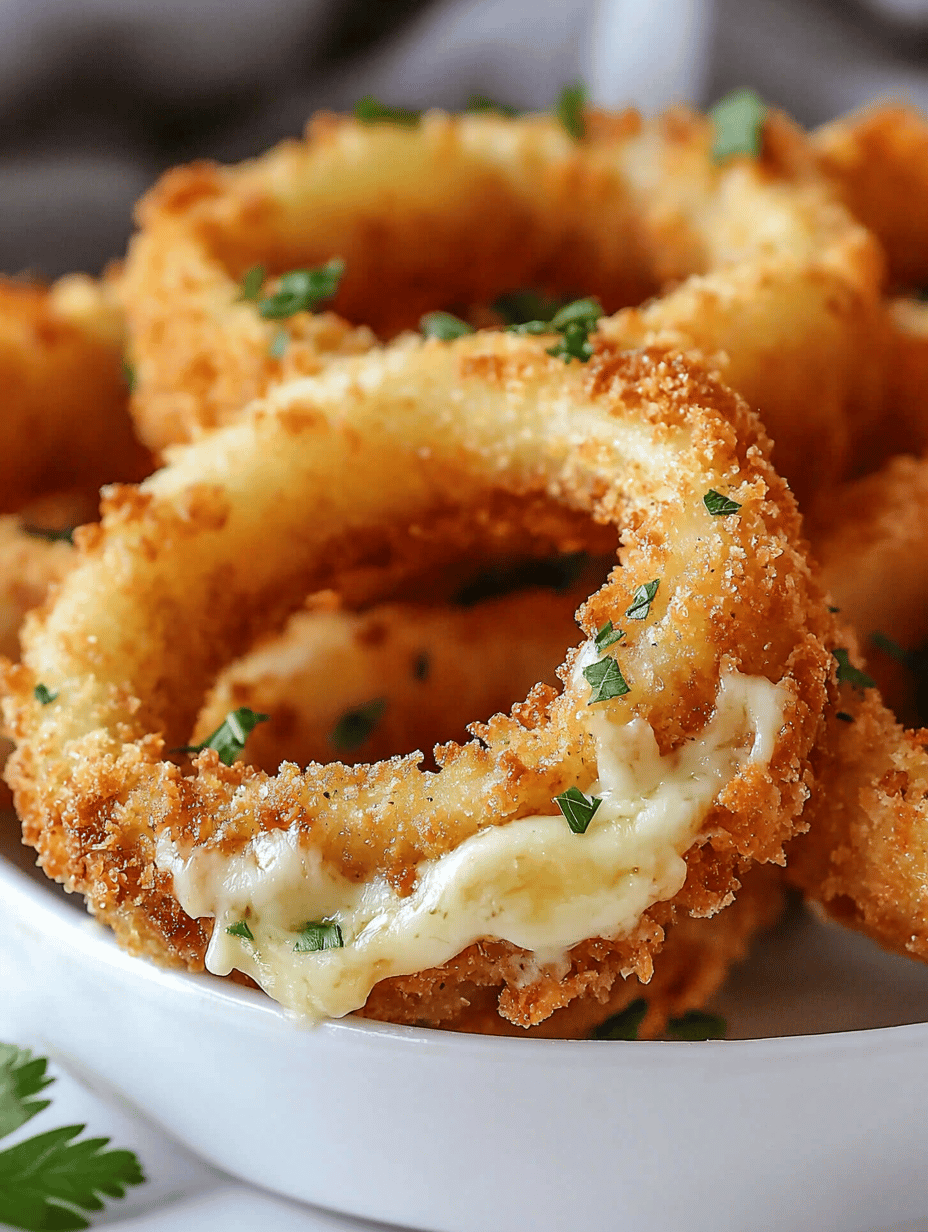
Cheese-Laden Onion Rings For Your Inner Snack Nerd
I was recently half-watching a cooking show, when suddenly they deep-fried a giant onion ring and topped it with a ...
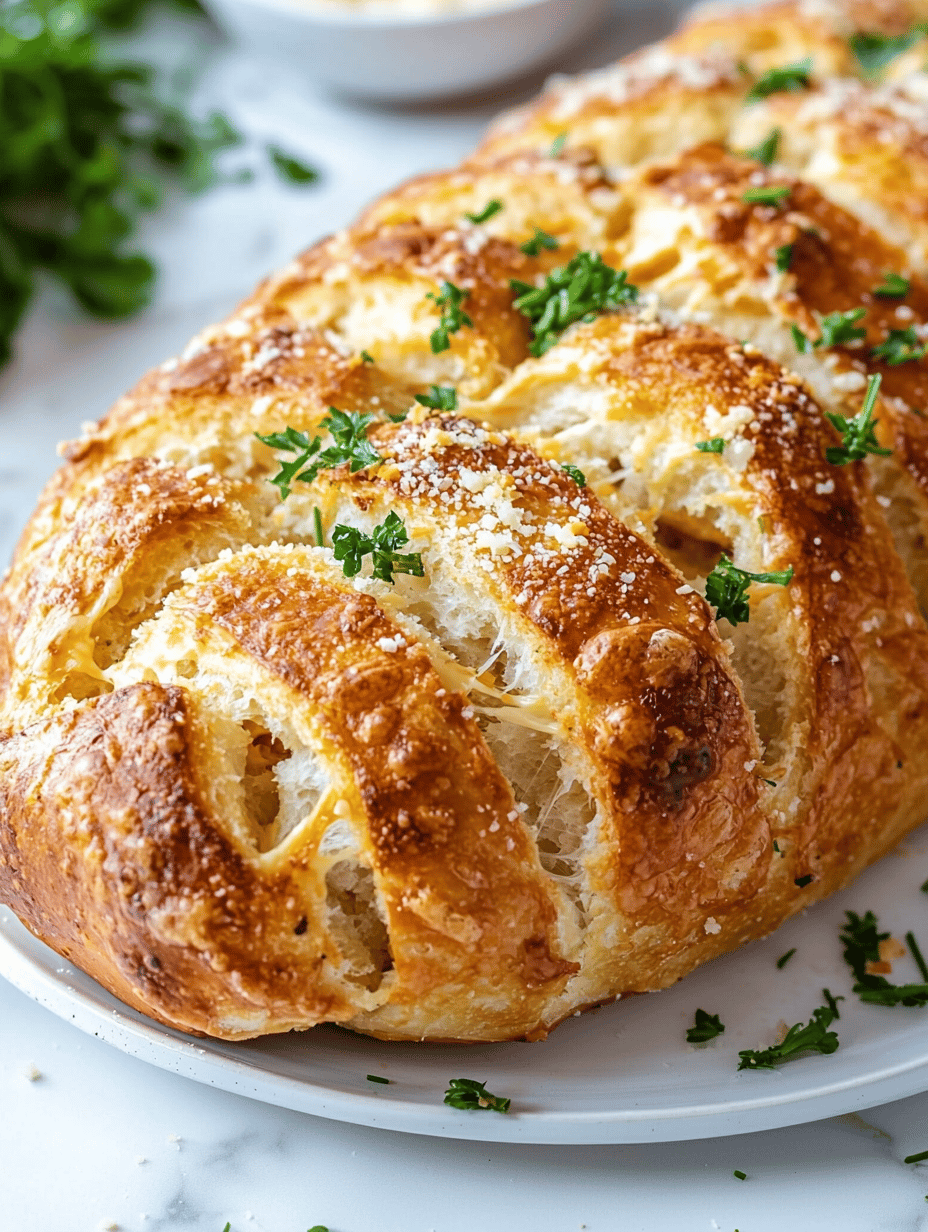
Secret Snack Hack: Little Caesars Crazy Bread You Can Make at Home
I stumbled onto this crazy idea after rifling through my pantry and realizing how much I need to stop relying ...