
Hi! I’m Theo Granger!
I bring flavour to your kitchen with easy and tasty recipes!
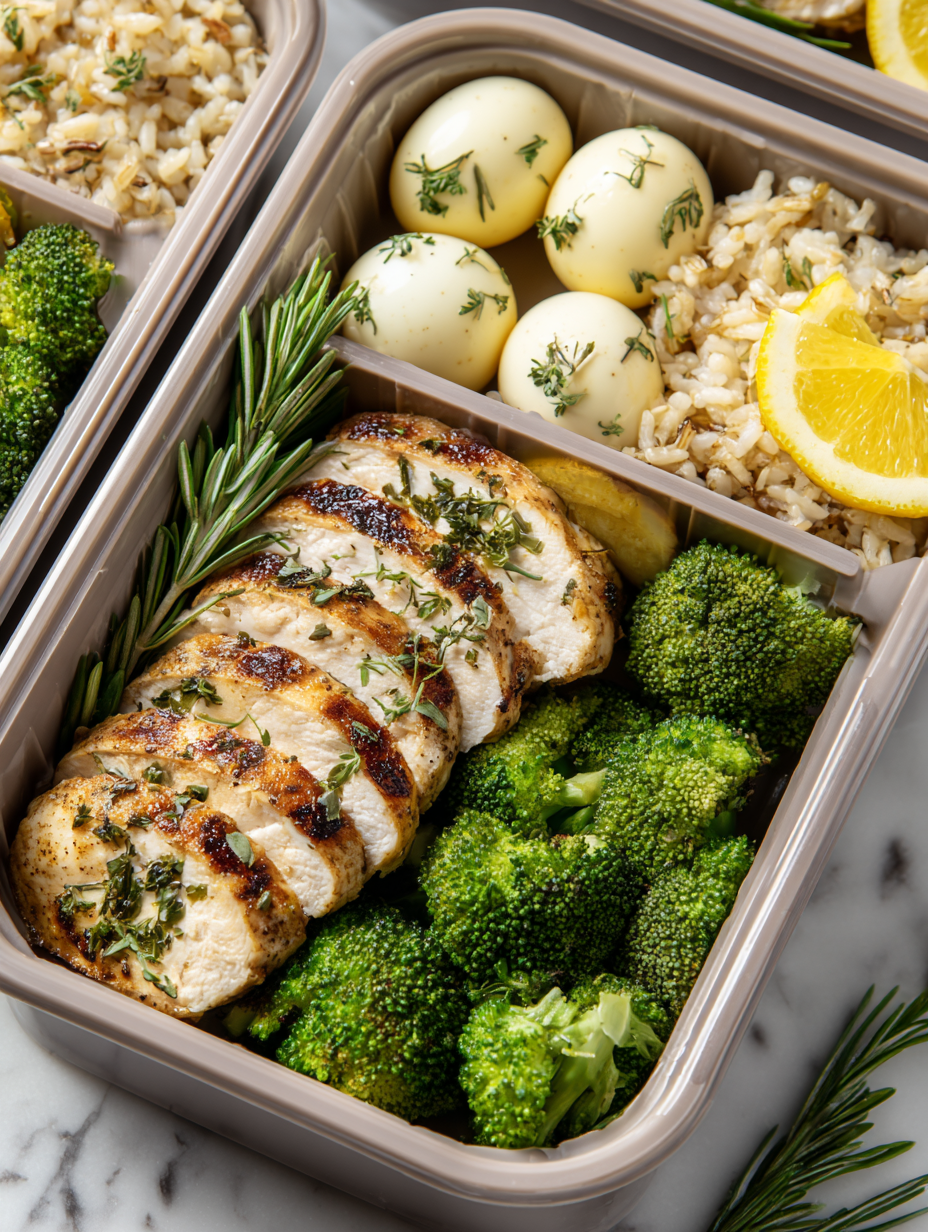
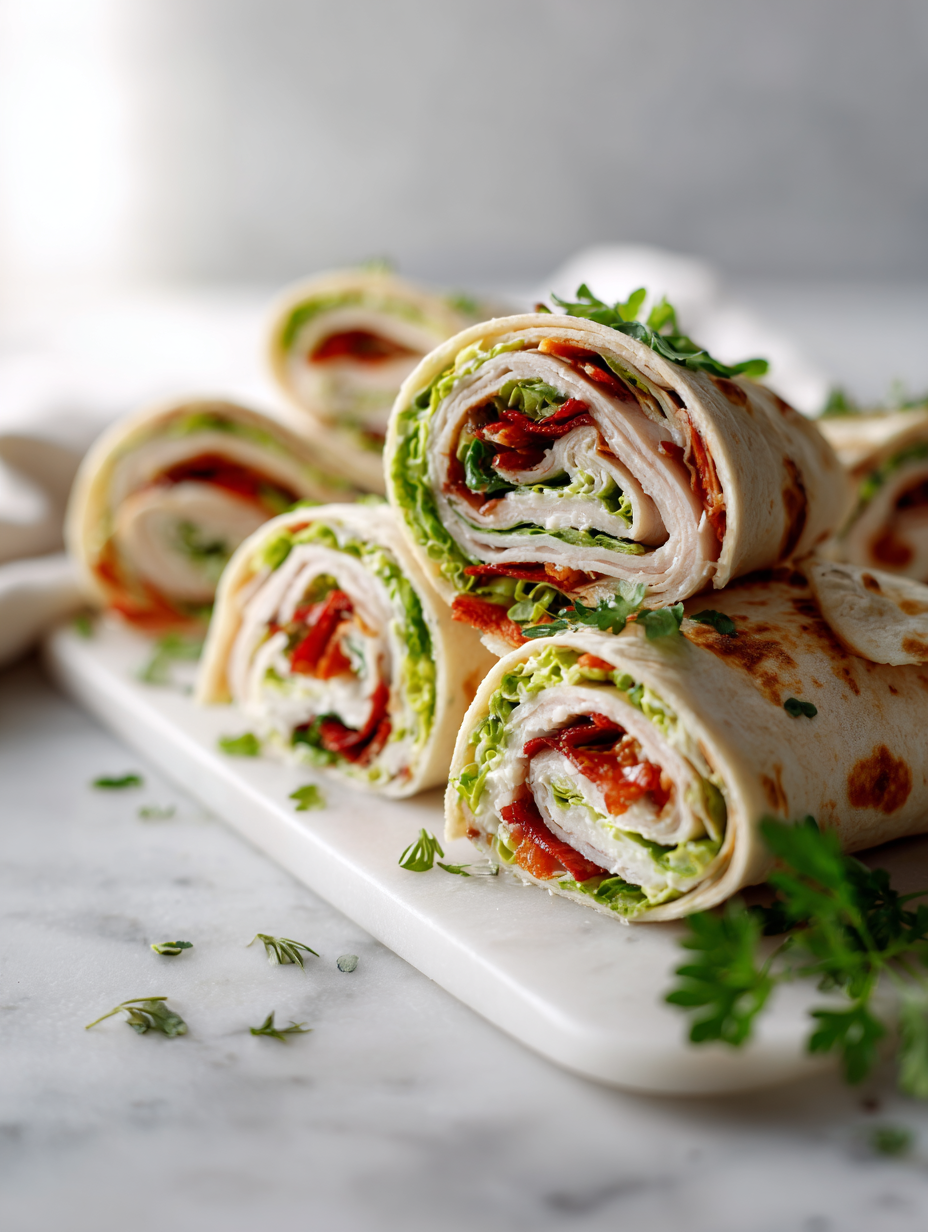
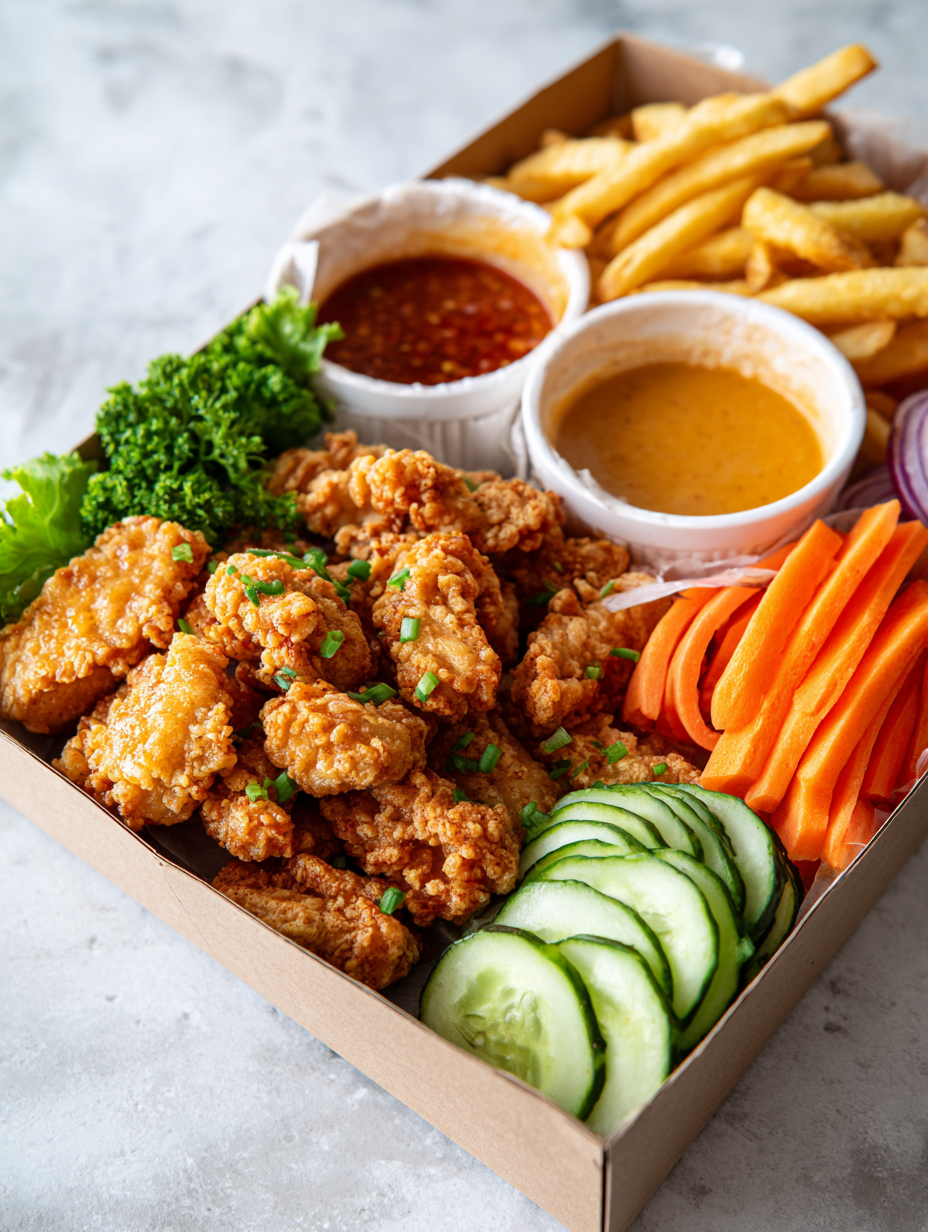
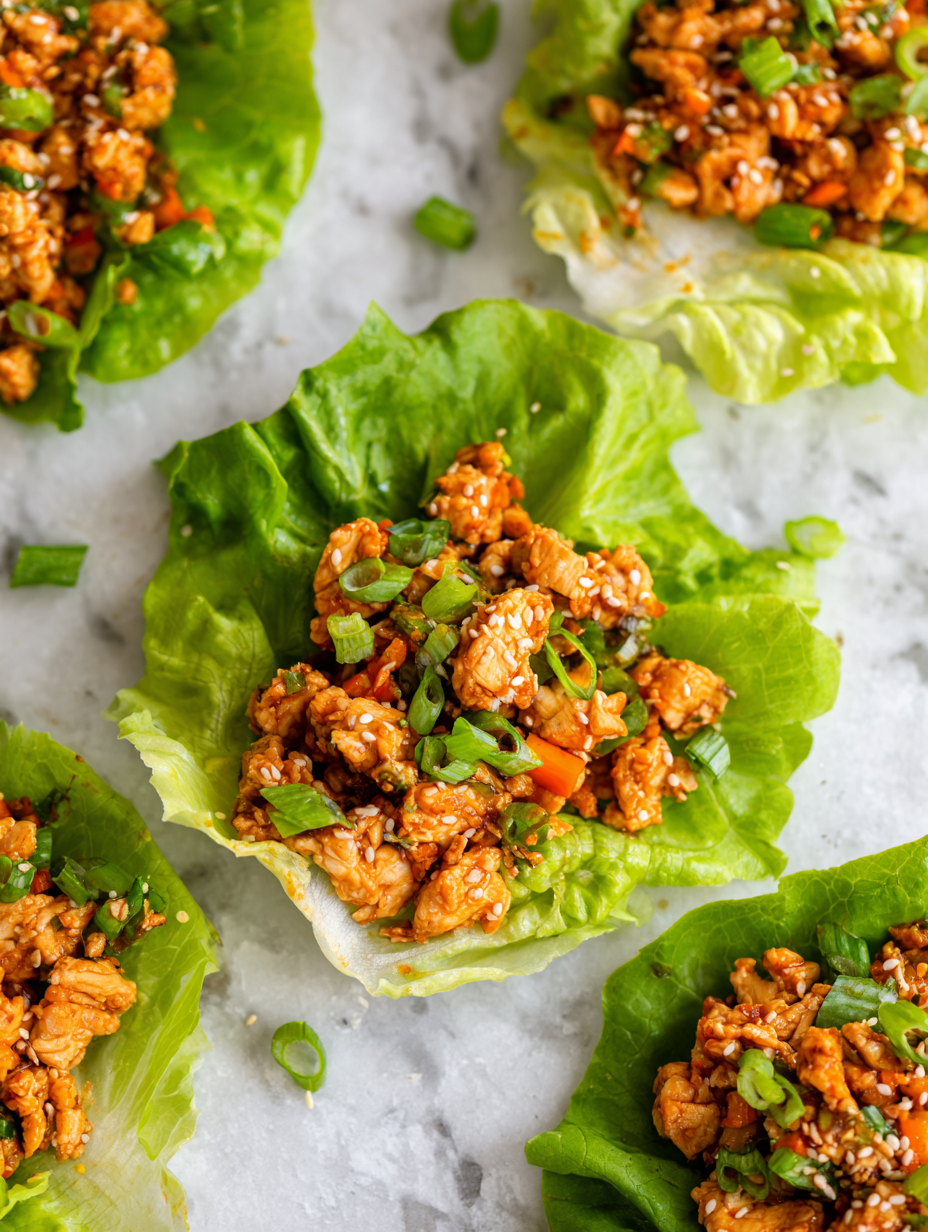
Mains

Browse categories
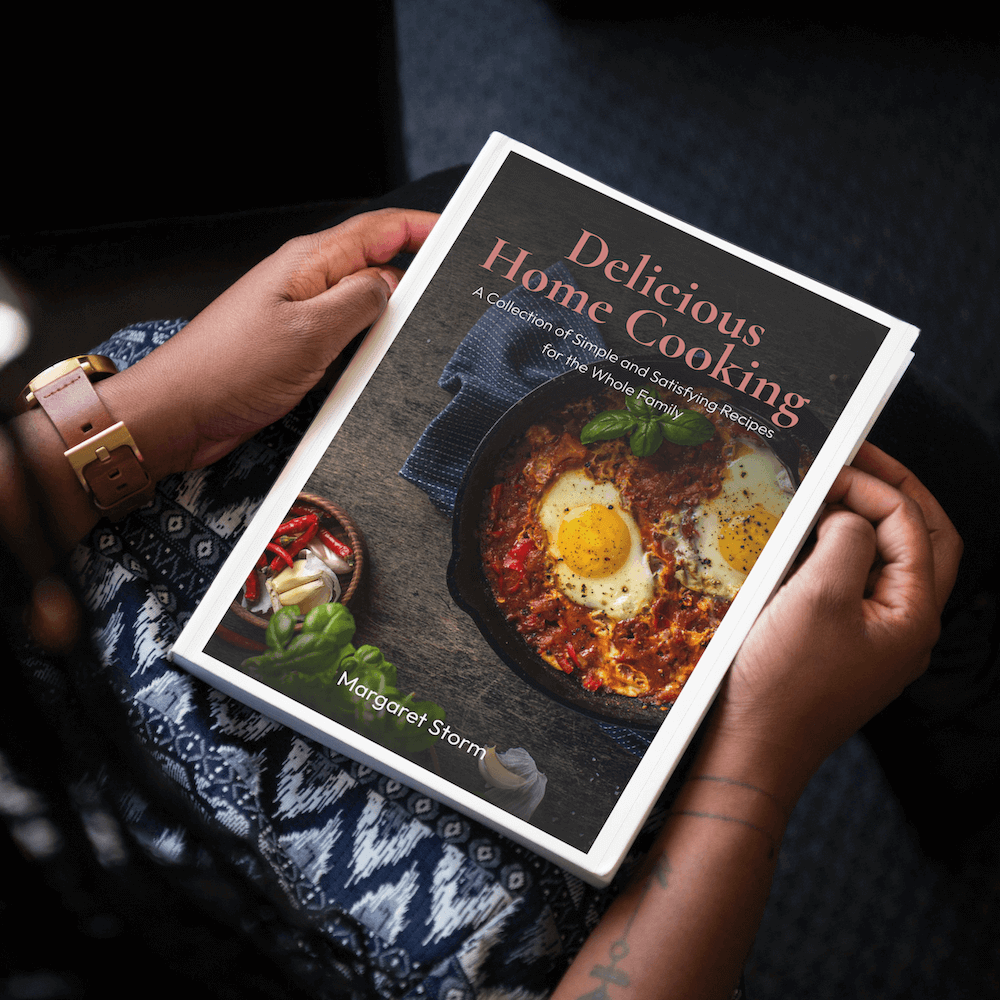
Get your hands on the delicious and easy-to-follow recipes in my new cookbook!
My latest book
Special occasion
Join my newsletter
Get exclusive access to recipes and cooking tips!