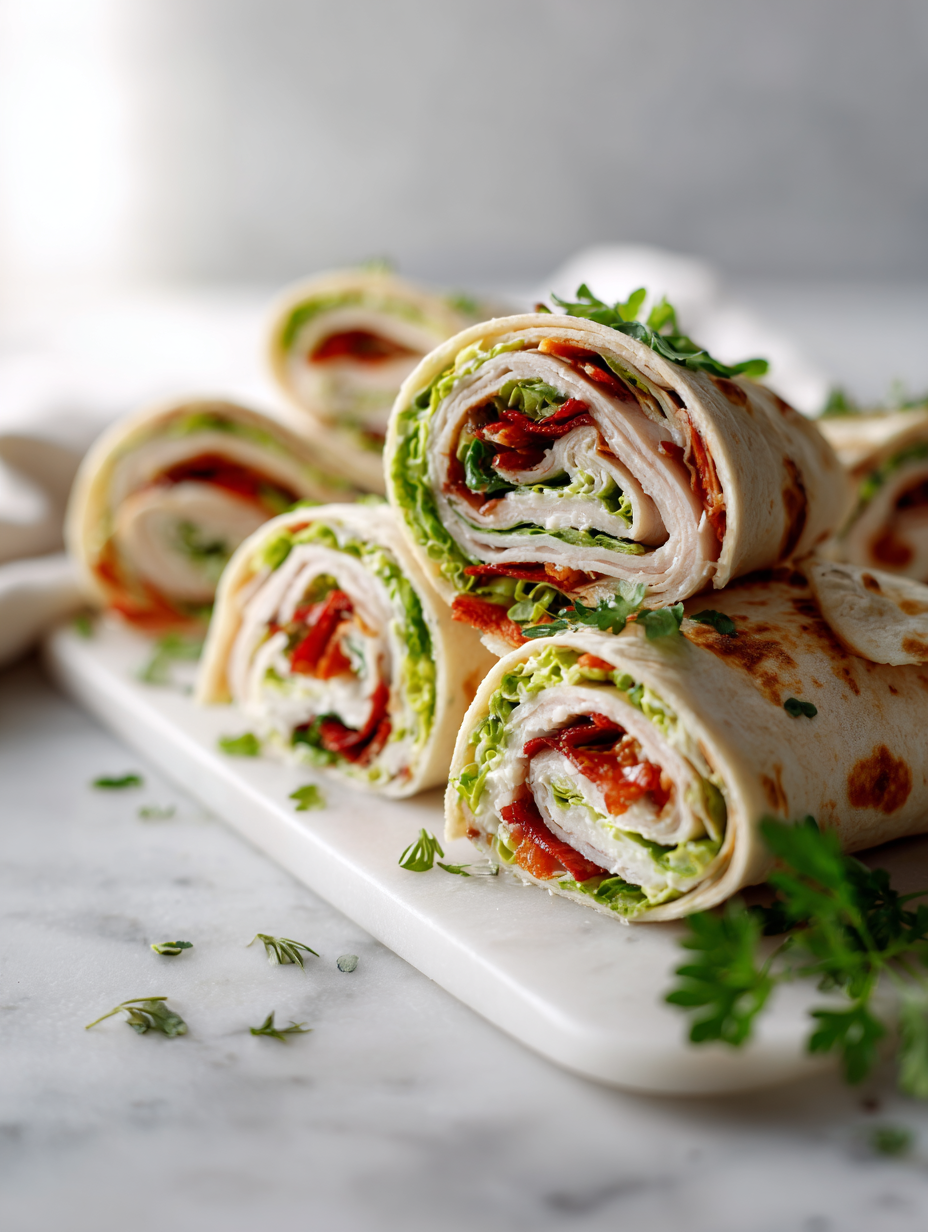
After the big holiday rush, leftover turkey can feel more like a burden than a blessing. But turning that cold, roast meat into something snackable and satisfying is a small challenge I actually look forward to. These turkey snack wraps are my go-to for quick bites that taste like a treat, not leftovers.
They’re perfect for when you want something easy, portable, and packed with flavor—no fuss, no mess. Plus, they make use of that turkey sitting in the fridge, giving it a fresh, crispy edge and a punch of savory goodness. It’s a way to stretch your holiday bird into a new, fun form, and honestly, I crave them even when turkey isn’t on the table.
Focusing on how to turn leftover turkey into a quick, satisfying snack that feels like a treat, especially after holiday meals or big family gatherings.
The story behind this recipe
- One afternoon, I was rushing through my fridge, leftovers in hand, trying to find something quick for my kids. The idea of wrapping turkey with a little crunch and fresh veggies just clicked. It was one of those moments when a simple idea turns into a habit.
- Over the years, these snack wraps became my secret weapon for busy days. They remind me of lazy weekend lunches and spontaneous picnics. Honestly, I love how they transform leftover turkey into something playful and satisfying—no fuss, just good eating.
- heading
- story_type
Key Ingredients Breakdown
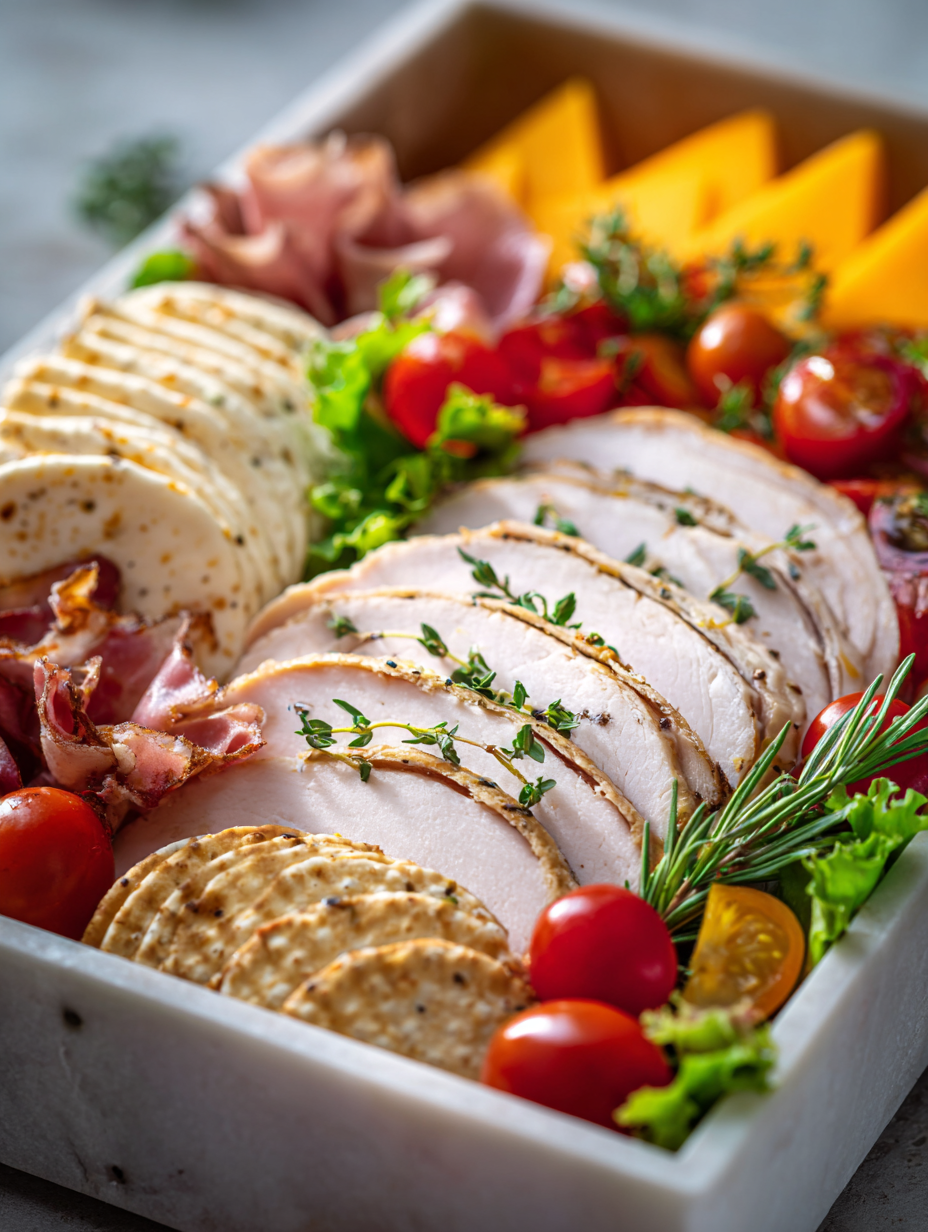
- Turkey: I like using leftover roasted turkey, the slightly crispy edges add a nice contrast. If you only have sliced deli turkey, just warm it up slightly for better texture.
- Tortilla Wraps: Soft flour tortillas are my go-to, but whole wheat work well too. Warm them slightly to make rolling easier and prevent tearing.
- Cheese: Sharp cheddar melts beautifully and adds a smoky, gooey layer. If you prefer milder flavors, mozzarella or Monterey Jack are good swaps.
- Veggies: Crisp lettuce and juicy tomato slices give freshness, but thinly sliced cucumbers or peppers can add crunch and color—play around!
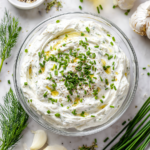
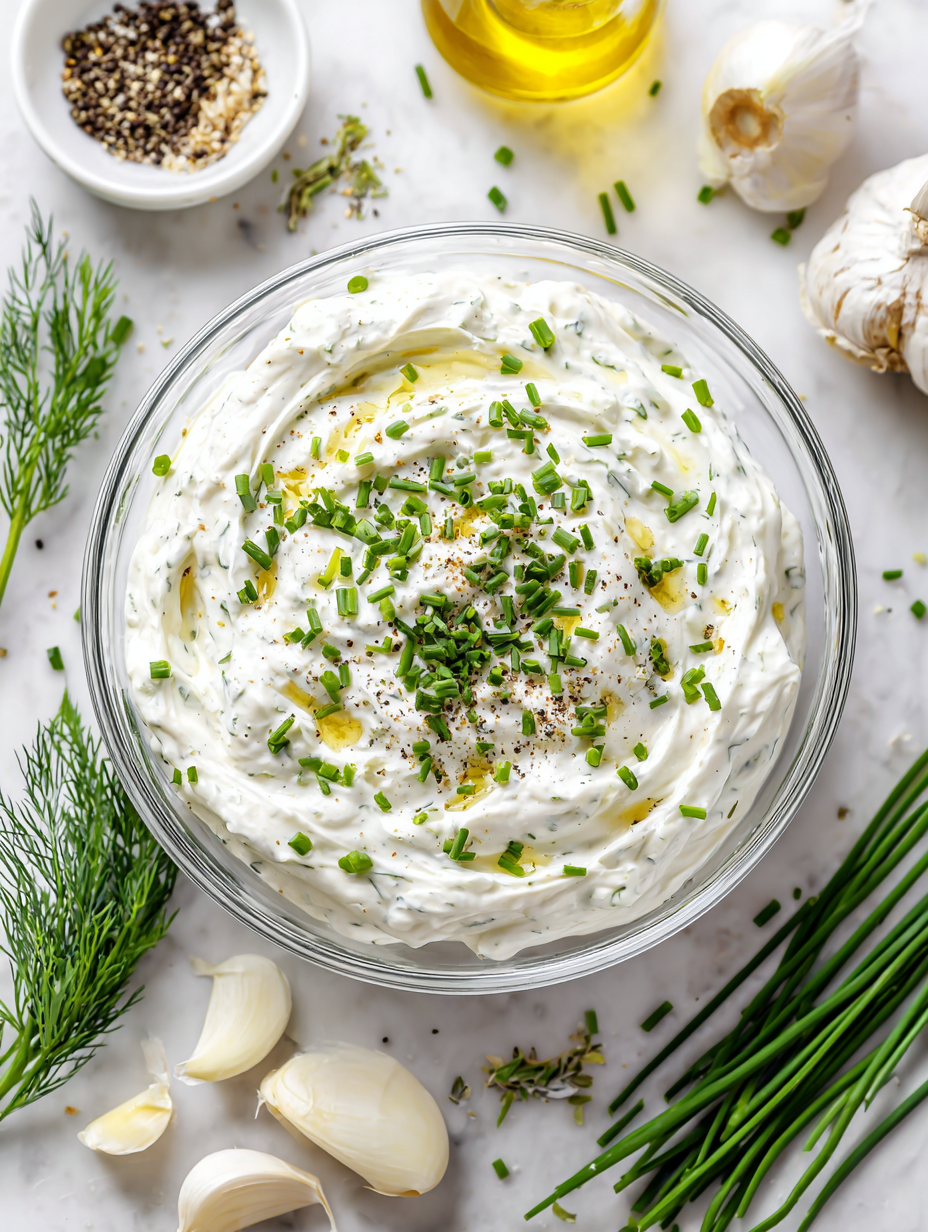
- Spread: A touch of mayonnaise or mustard adds moisture and zing. For a tangy twist, try a smear of Greek yogurt or hummus.
- Seasonings: A pinch of black pepper or paprika can lift the flavors. I sometimes sprinkle a little cumin for smoky depth—just a dash!
- Extras: Pickles or crispy bacon bits can make these wraps feel even more special. Add what makes you smile, but don’t overstuff!
Spotlight on key ingredients
Turkey:
- I like using leftover roasted turkey, the slightly crispy edges add a nice contrast. If you only have sliced deli turkey, just warm it up slightly for better texture.
- Tortilla Wraps: Soft flour tortillas are my go-to, but whole wheat work well too. Warm them slightly to make rolling easier and prevent tearing.
- Cheese: Sharp cheddar melts beautifully and adds a smoky, gooey layer. If you prefer milder flavors, mozzarella or Monterey Jack are good swaps.
Tortilla Wraps:
- Warmed slightly, they become more pliable and easier to roll without tearing. A quick 10-second zap in the microwave does the trick.
- Cheese: Melts quickly and evenly, giving that irresistible gooey texture. Keep an eye on it to avoid burning or over-melting.
Notes for ingredient swaps
- Dairy-Free: Use avocado or hummus instead of cheese for creaminess, which adds a different, richer flavor without dairy.
- Gluten-Free: Swap regular tortillas for gluten-free wraps or large lettuce leaves for a fresh, crunchy alternative.
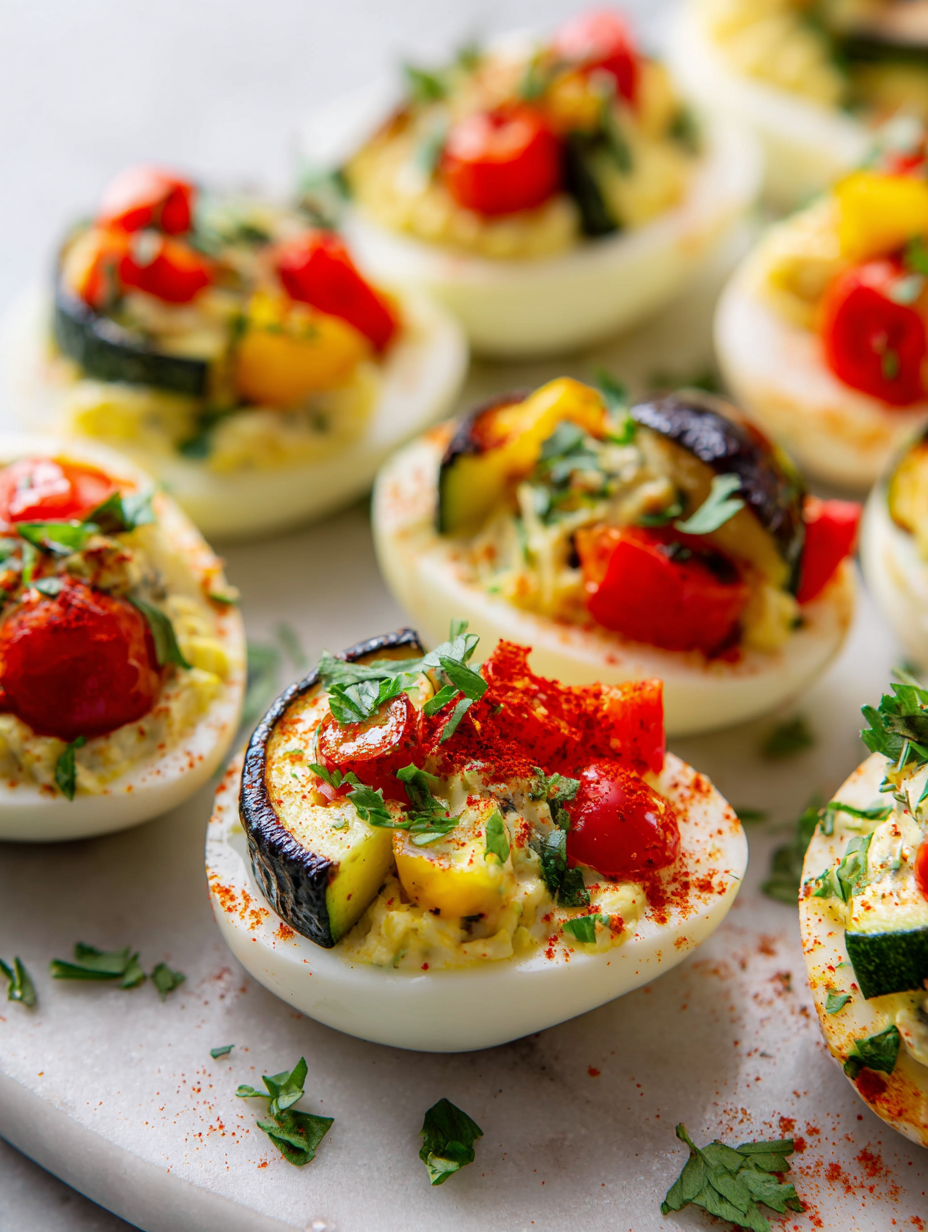
- Vegetarian: Replace turkey with grilled vegetables or tofu strips; you still get that satisfying wrap feel.
- Spicy Kick: Add a dash of hot sauce or jalapeño slices for extra heat—just a splash or a few slices, depending on your spice tolerance.
- Herb Twist: Fresh basil or cilantro can brighten the flavors—chop and sprinkle for a vibrant herbal note.
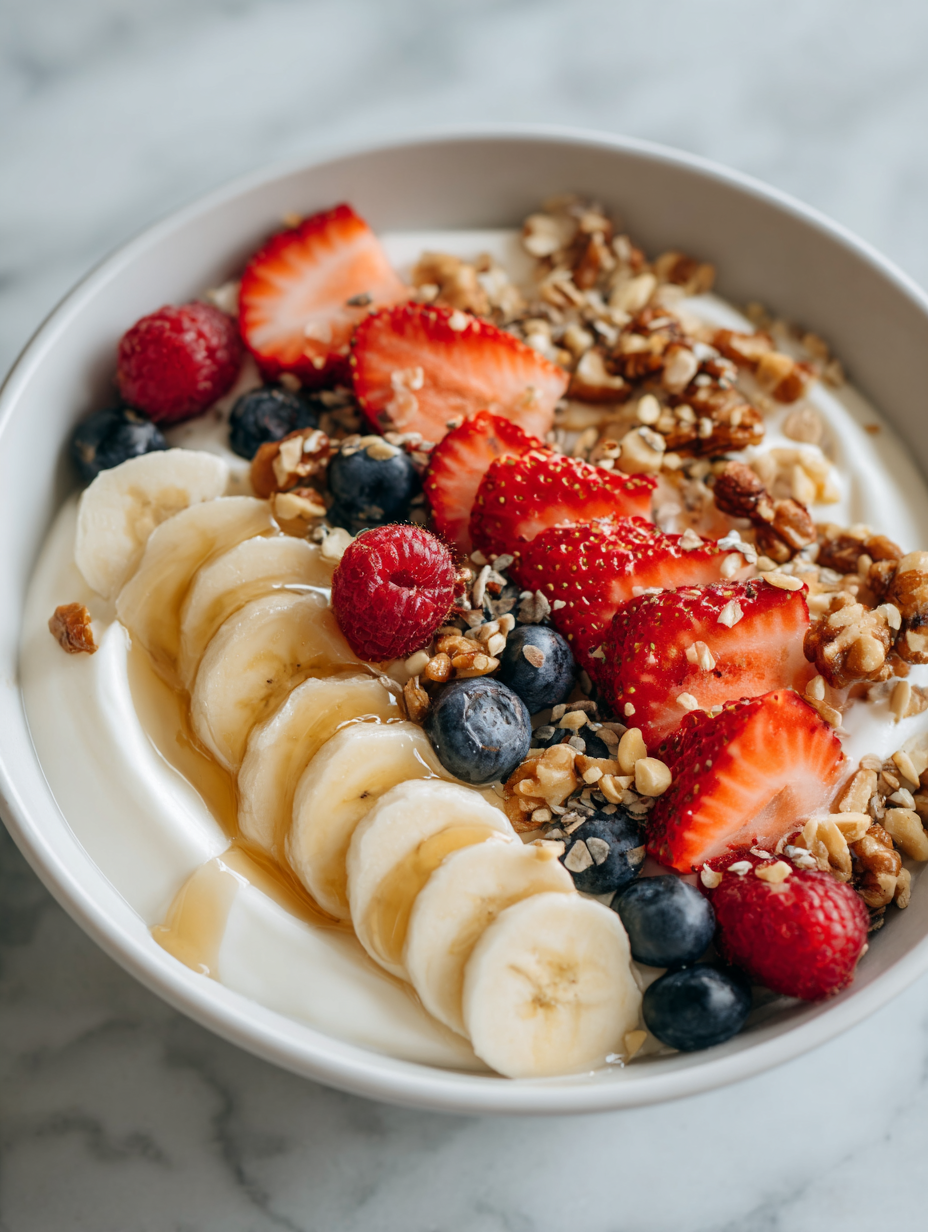
- Sweet Touch: A smear of honey mustard or a few thin apple slices can add a subtle sweetness that balances savory flavors.
- Crunch Factor: Crispy onion strings or toasted nuts can give an unexpected crunch—add just before rolling for best texture.
Equipment & Tools
- Non-stick skillet: To heat and crisp the turkey and final wrap.
- Spatula: To flip and handle the wraps easily.
- Knife: For slicing turkey and veggies cleanly.
- Cutting board: To prepare and assemble ingredients.
- Plate: To serve and assemble the wraps.
Step-by-step guide to turkey wraps
- Equipment & Tools: Gather a non-stick skillet, a spatula, a knife, cutting board, and a plate for assembling. The skillet’s heat helps get that crispy edge on the turkey.
- Warm the turkey: Slice leftover turkey into thin strips. Heat the skillet over medium (around 180°C / 350°F). Add a splash of oil, then turkey. Cook for 2-3 minutes until edges crisp and meat is heated through. Smell that savory aroma?
- Prepare the wraps: While turkey warms, warm tortillas in a dry pan or microwave for 10 seconds to make them pliable. Keep them covered with a damp towel if needed.
- Assemble the wraps: Spread a thin layer of your chosen spread on the tortilla—mayonnaise, mustard, or hummus. Layer with turkey slices, cheese, and veggies. Don’t overstuff; fold carefully.
- Wrap it up: Roll tightly from one edge, tucking in sides as you go. Use a toothpick if needed to hold the shape, especially if filling spills out.
- Final crisp: Place the assembled wrap back in the skillet over medium heat for 1-2 minutes per side. This makes the outside crispy and the cheese melty. Listen for a gentle crackle.
- Rest and serve: Let the wrap rest for a minute off heat. Slice in half diagonally on a cutting board. Serve with a side of extra veggies or chips.
Let the wraps rest for a minute after searing, then slice diagonally. Serve immediately with your favorite sides or enjoy on the go. The crispy outside and warm inside make every bite satisfying.
How to Know It’s Done
- Turkey is heated through and edges are crispy on the outside.
- Wraps are golden and slightly crispy on the outside after final sear.
- Cheese is melted and veggies look fresh with vibrant color.
Turkey Snack Wraps
Ingredients
Equipment
Method
- Slice leftover turkey into thin strips, about 1 cm wide, to ensure even heating and easy wrapping.
- Heat a non-stick skillet over medium heat and add a splash of oil. Once hot, spread the turkey strips in a single layer and cook for 2-3 minutes until the edges turn crispy and golden, and the turkey is heated through. You’ll hear a gentle sizzle and smell savory aromas as it crisps up.
- While the turkey crisps, warm the tortillas in a dry skillet or microwave for about 10 seconds to make them soft and pliable. Cover them with a damp towel if needed to keep them warm and flexible.
- Spread a thin layer of mayonnaise or your chosen spread on each tortilla, leaving about an inch border around the edges. This adds moisture and flavor to your wraps.
- Layer the crispy turkey strips across the center of each tortilla, then sprinkle with shredded cheese, followed by slices of fresh tomato and shredded lettuce. Be careful not to overstuff, which makes rolling tricky.
- Fold in the sides and then roll tightly from one edge to the other, creating a snug wrap. Tuck in the sides as you go for a neat, sealed package.
- Place the assembled wraps back into the skillet and sear for 1-2 minutes per side over medium heat until the outside is golden and crispy, and the cheese is melted. You should hear a satisfying crackle as the outside crisps up.
- Remove the wraps from the skillet and let them rest for a minute. Then, slice each wrap diagonally on a cutting board for a clean, attractive presentation.
- Serve immediately with extra veggies or your favorite sides, enjoying the crispy exterior and melty, savory filling with each satisfying bite.
Pro tips for perfect wraps
- Crisp Turkey: Use a hot skillet with a splash of oil to crisp the edges—listen for that satisfying sizzle.
- Warm Tortillas: Wrap them in a damp towel and microwave for 10 seconds. They roll so much easier when pliable.
- Melty Cheese: Add cheese last and cover the skillet briefly to help it melt evenly and quickly.
- Sealing the Wrap: Tuck in the sides as you roll for a tidy, snug wrap that stays together during that final sear.
- Final Sear: Sear the assembled wrap for 1-2 minutes per side on medium heat until golden and crispy—crackle should be audible.
- Rest Before Slicing: Let the wrap sit for a minute after searing; this helps the fillings set and prevents spills.
- Fix Burnt Edges: If the outside gets too dark, turn down the heat immediately and add a splash of water to cool the pan.
Common mistakes and how to fix them
- FORGOT to check the wrap’s seal → Ensure tight rolling to prevent unravelling.
- DUMPED the filling too full → Use moderate amounts to avoid spilling during rolling.
- OVER-TORCHED the wrap’s outside → Cook on medium heat, watch for golden color, not dark.
- MISSED the resting step → Rest for a minute after searing to set the filling.
Quick fixes and pantry swaps
- If the wrap cracks, splash a little water on the edge and reseal with gentle pressure.
- When filling spills out, quickly patch with extra tortilla and press down to secure.
- Over-torched edges? Shield with a damp cloth and lower the heat immediately.
- Forgot to crisp the turkey? Splash a bit of oil in the skillet and reheat for crunch.
- Dumped too much filling? Rescue with a small plate or cut smaller slices for easier eating.
Prep, store, and reheat tips
- Prepare the turkey: Slice and warm the leftover turkey in a skillet until edges are crispy and aroma is savory, about 3 minutes. Let cool before assembling to prevent sogginess.
- Wraps can be assembled up to 2 hours ahead; wrap tightly in plastic and store in the fridge to keep them fresh and prevent drying out.
- Store the assembled wraps in an airtight container in the fridge. Best enjoyed within 24 hours for optimal freshness and flavor.
- Reheat gently on a skillet over medium heat (around 180°C / 350°F) for 1-2 minutes per side until crispy and heated through. The smell of toasted tortilla and melted cheese should fill the kitchen.
Top Questions About Turkey Snack Wraps
1. Can I use deli turkey instead of leftover roast?
Use leftover roasted turkey for the best flavor and texture, especially the crispy edges. Deli turkey works too, just warm it slightly.
2. How do I make the tortillas more pliable?
Warm the tortillas in a dry skillet or microwave for about 10 seconds. It makes rolling much easier and prevents tearing.
3. How should I prepare the turkey for wrapping?
Slice the turkey into thin strips, about 1 cm wide, to ensure even heating and easy wrapping.
4. How long do I cook the turkey for crispness?
Cook the turkey in a hot skillet with a little oil until edges are crispy and it’s heated through, about 2-3 minutes.
5. How do I get the outside crispy?
Use a spatula to flip the wraps and sear for 1-2 minutes per side until golden and crispy.
6. What if the wrap cracks while rolling?
If the wrap cracks, splash a little water on the edge and press gently to reseal it.
7. How long can I store the wraps?
Store the assembled wraps in an airtight container in the fridge for up to 24 hours. Reheat in a skillet for best texture.
8. How do I melt the cheese properly?
Add cheese last and cover the skillet briefly to melt it evenly, about 30 seconds to 1 minute.
9. How do I keep tortillas from drying out?
Use a damp towel to cover tortillas when warming to prevent them from drying out or cracking.
10. How can I make the wraps spicier?
For a spicy kick, add hot sauce or sliced jalapeños before rolling. Adjust to your spice tolerance.
These turkey snack wraps aren’t just a way to use leftovers; they’re a small, satisfying ritual that brightens busy days. The crispy edges, melty cheese, and fresh crunch make every bite feel like an intentional treat. Sometimes, all it takes is a simple wrap to turn yesterday’s turkey into today’s comfort food.
In a season of hurried mornings and quick bites, they remind me that good food doesn’t have to be complicated. A little prep, a hot skillet, and a moment of focus turn leftovers into something memorable. It’s these small, honest recipes that keep the kitchen feeling real.

Hi, I’m Theo Granger, the voice and recipe creator behind Boldly Overseasoning.
If you believe salt is not the enemy, spices should be generous, and flavor should never whisper when it can sing, then you are absolutely in the right place. Boldly Overseasoning is my unapologetic celebration of big flavor, confident cooking, and trusting your instincts in the kitchen. I created this space for people who are done with bland food and ready to cook with courage.


Leave a Reply