Turkey roll ups are one of those recipes that feel like a secret weapon in my kitchen. They’re simple, but with a little twist—like a smear of cream cheese or a sprinkle of herbs—they become something special. I love how flexible they are, perfect for breakfast, lunch, or a quick snack that doesn’t feel boring or repetitive.
What keeps me coming back to this recipe is how it can adapt to whatever I have on hand. Leftover turkey from the roast? Great. Need something fast after a long day? Even better. It’s honest comfort food with a little punch of freshness, and honestly, I’ve never met anyone who doesn’t get excited when I say I’ve got turkey roll ups ready.
It’s funny how a simple idea like wrapping turkey can turn into a little moment of joy. I’ve made these for kids’ lunches, for last-minute appetizers, even as a light dinner when I don’t want heavy. They’re unpretentious but feel like a tiny celebration of what’s easy and good.
Focusing on the versatility of turkey roll ups as a quick, customizable snack that can be adapted for any time of day or occasion, bringing a personal touch to everyday cooking.
The story behind this recipe
- This recipe was born out of a busy afternoon when I needed something quick, comforting, but still satisfying enough to keep everyone happy. I remember the smell of warm turkey mingling with herbs, just enough to remind me that simple ingredients can create something special. It’s become a staple because it’s honest, adaptable, and always a hit.
- The idea of wrapping turkey with a touch of cream cheese and fresh herbs came from a moment of chaos—trying to get a meal on the table without sacrificing flavor or texture. Over the years, I’ve added my own tweaks, but the core idea stays true: minimal fuss, maximum flavor, and a little bit of nostalgic comfort.
- heading
- story_type
Ingredient breakdown: key components
- Turkey breast: I prefer a good, lean cut that feels firm and sounds slightly jiggly when pressed. If yours feels too soft, it might be overcooked or too fatty—swap it out or cook it less. The smell should be clean and slightly meaty, not funky.
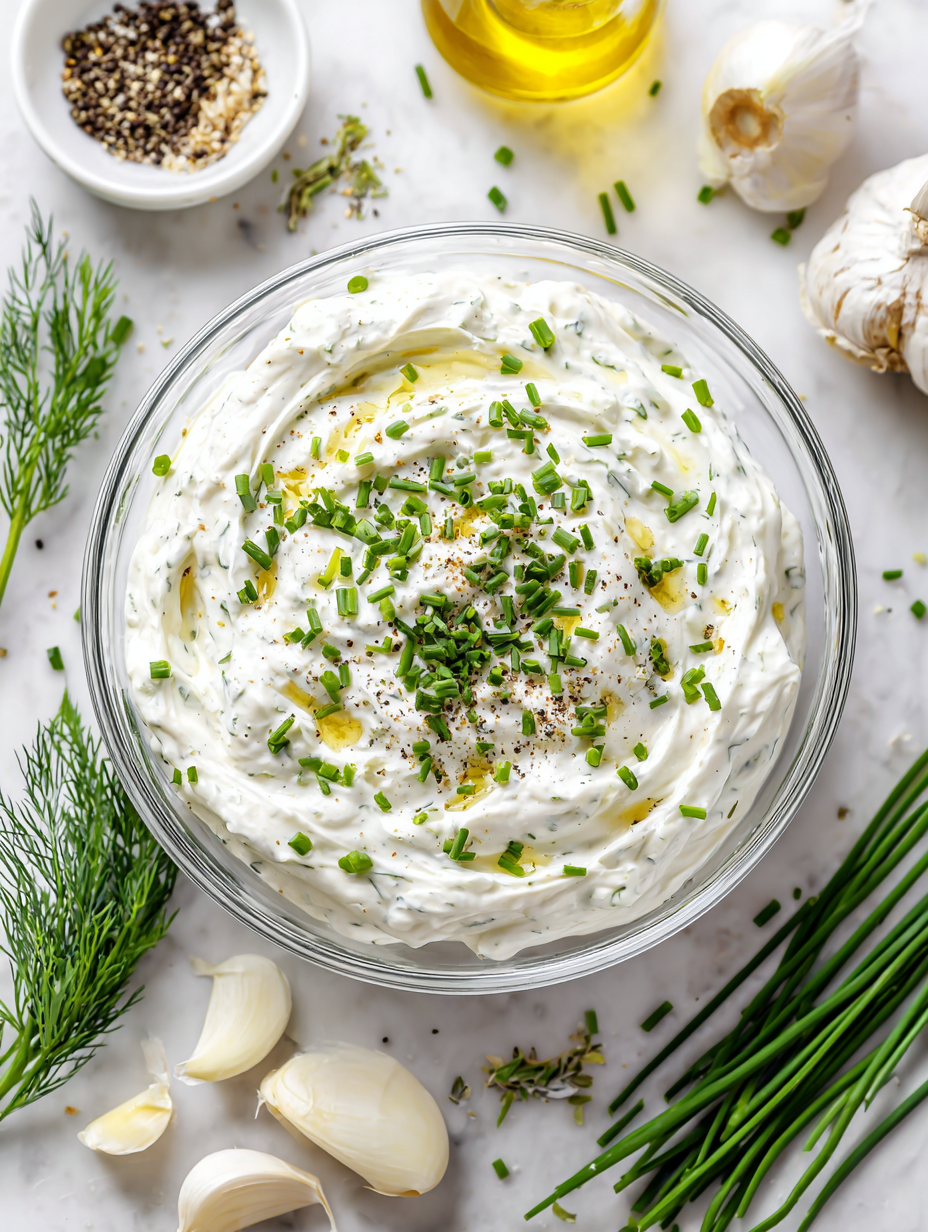
- Cream cheese: I love the tangy richness it adds, but if you’re dairy-free, try Greek yogurt or hummus. The cream cheese melts beautifully, giving the roll-ups a silky texture and a slightly oozy contrast to the turkey.
- Herbs: Fresh parsley or dill bring a bright, herbal punch, especially when they crackle slightly in the pan. Dried herbs work too, but they lose that fresh aroma. Use sparingly—they’re a finishing touch, not the main event.
- Lemon: A squeeze of lemon juice brightens everything up. I keep it handy to add just before rolling—don’t skip it, or the flavor feels dull. The citrus aroma should shimmer and wake up the palate.
- Olive oil: A splash for searing or drizzling adds smoky richness and helps the herbs and lemon pop. Use good quality extra virgin for the best flavor—your nose will thank you when it hits that aromatic, slightly peppery note.
- Wraps: I use whole wheat or spinach tortillas—they add a subtle earthiness and hold everything together without feeling heavy. If you want a lighter option, lettuce leaves work for a crisp, fresh bite, especially in warmer weather.
- Seasoning: Salt and pepper are essential—don’t skimp. They amplify all the other flavors, making each bite feel balanced and moreish. I always taste the filling before wrapping, adjusting as needed.
Spotlight on key ingredients
Turkey breast:
- I prefer a good, lean cut that feels firm and sounds slightly jiggly when pressed. If yours feels too soft, it might be overcooked or too fatty—swap it out or cook it less. The smell should be clean and slightly meaty, not funky.
- Cream cheese: I love the tangy richness it adds, but if you’re dairy-free, try Greek yogurt or hummus. The cream cheese melts beautifully, giving the roll-ups a silky texture and a slightly oozy contrast to the turkey.
Herbs:
- Fresh parsley or dill bring a bright, herbal punch, especially when they crackle slightly in the pan. Dried herbs work too, but they lose that fresh aroma. Use sparingly—they’re a finishing touch, not the main event.
- ingredient
Notes for ingredient swaps
- Dairy-Free: Swap cream cheese for hummus or mashed avocado. Keeps it creamy, but loses that tangy richness.
- Gluten-Free: Use lettuce leaves or large cucumber slices instead of wraps. Adds crunch and freshness, but less hold.
- Herb Variations: Substitute parsley or dill with basil or cilantro. Each brings a different, vibrant aroma and flavor punch.
- Lemon: Lime juice works well too, offering a slightly different citrus brightness—more zesty and sharp.
- Olive Oil: Use avocado oil for a milder, buttery flavor, or sesame oil for a smoky twist—just a few drops.
- Turkey: Roast chicken slices can replace turkey for a slightly different texture and flavor—still tender and mild.
- Seasoning: Add a pinch of smoked paprika or garlic powder to the filling for extra depth and smoky aroma.
Equipment & Tools
- Sharp knife: For pounding and slicing the turkey evenly.
- Baking dish or oven-safe skillet: To sear and finish the rolls in the oven.
- Small bowl: To mix and hold the herb cream cheese filling.
- Toothpicks or kitchen twine: To secure the rolls during cooking.
- Tongs or spatula: To flip and handle the rolls carefully.
Step-by-step guide to turkey roll ups
- Equipment & Tools: Gather a sharp knife, a baking dish, a small bowl, and toothpicks or kitchen twine.
- Prepare the turkey: Lay the turkey slices flat on a cutting board. If they’re thick, gently pound them to about 1/4-inch thickness for even rolling.
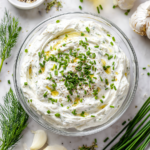
- Make the filling: Mix cream cheese, chopped herbs, lemon juice, salt, and pepper in the small bowl until smooth and fragrant.
- Spread the filling: Use a spoon to evenly spread a thin layer of the herb cream cheese mixture over each turkey slice, leaving a small border.
- Roll it up: Starting from one edge, tightly roll each slice into a compact cylinder. Secure with toothpicks or tie with kitchen twine if needed.
- Sear the rolls: Heat a tablespoon of olive oil in a skillet over medium-high heat (about 180°C/350°F). When shimmering, add the turkey rolls.
- Cook until golden: Sear for 2-3 minutes per side, until each side is golden and slightly crispy. Check for internal warmth and aroma of herbs.
- Finish in oven: Transfer the skillet to a preheated oven at 180°C/350°F, bake for 8-10 minutes to ensure thorough heating. The filling should be bubbling slightly.
- Rest and serve: Remove from oven, let rest for 2 minutes. Carefully remove toothpicks or twine, then slice into 1-inch pieces for presentation.
- Final check: Ensure the internal temperature reaches 74°C/165°F. The rolls should be juicy, with a fragrant herb aroma and a slight crisp on the exterior.
Let the rolls rest for 2 minutes after baking to settle juices. Remove toothpicks or twine, then slice into medallions. Plate with a sprinkle of fresh herbs or lemon wedges for brightness.
How to Know It’s Done
- Internal temperature reaches 74°C/165°F for safe eating.
- Golden-brown exterior with crispy edges.
- Herb filling is hot and bubbly when sliced.
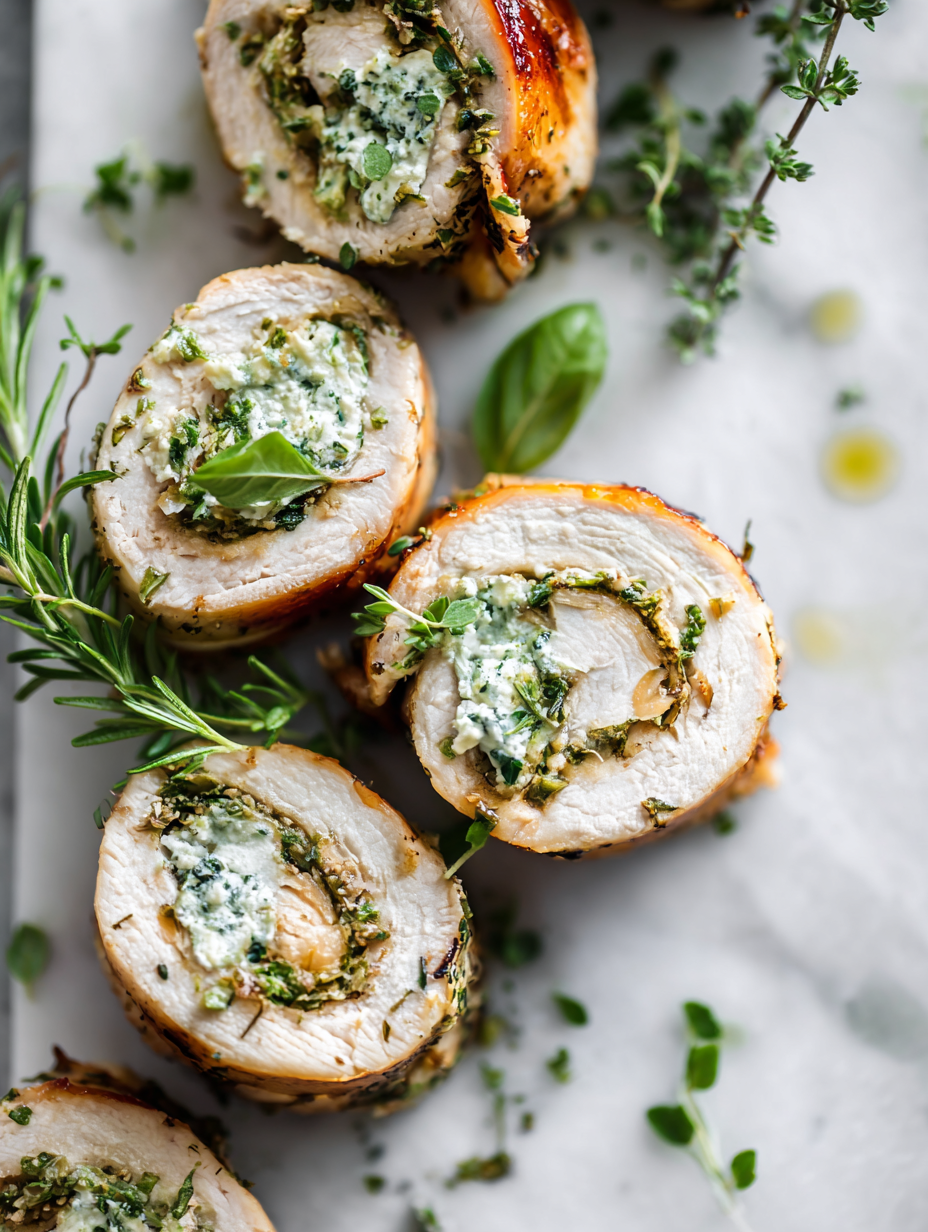
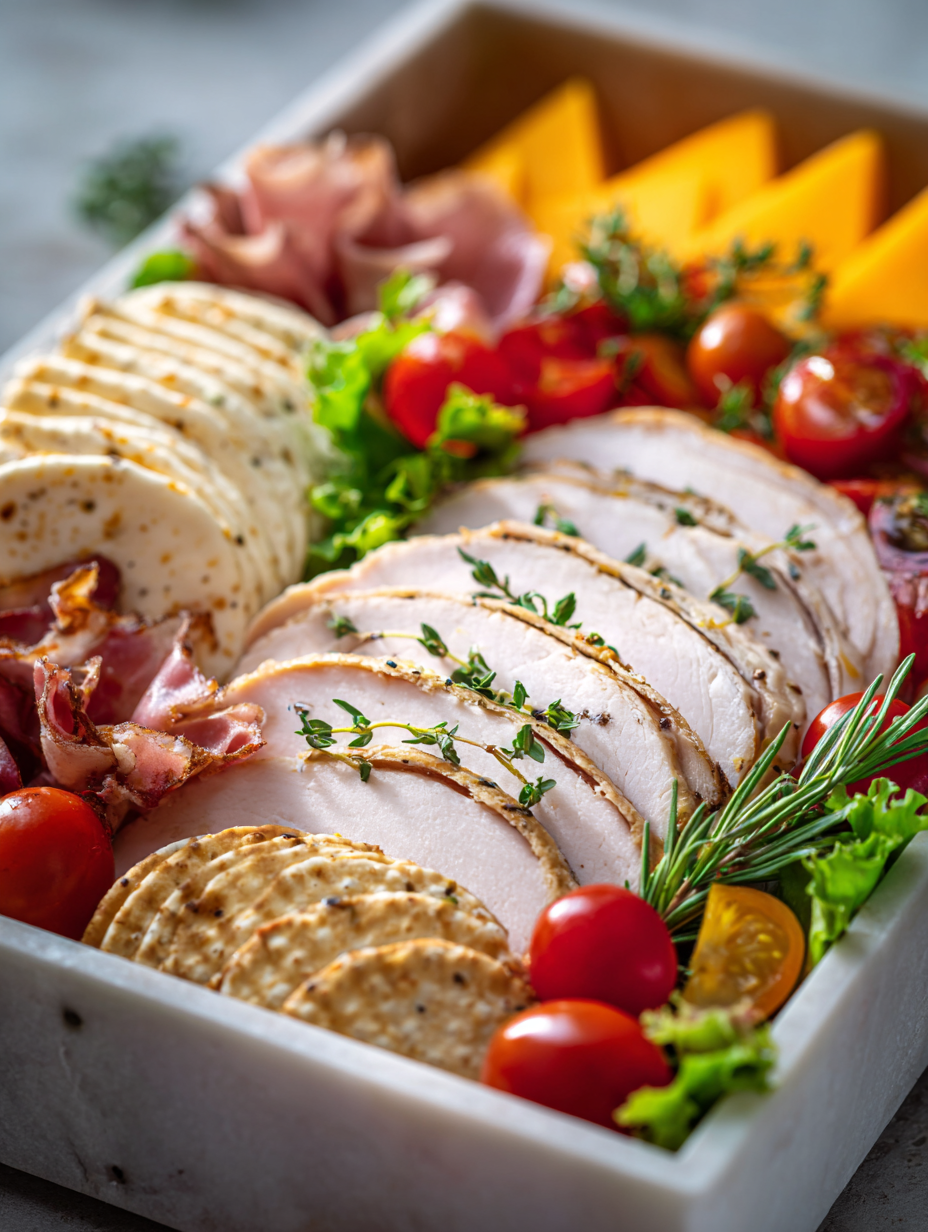
Turkey Roll Ups with Herb Cream Cheese
Ingredients
Equipment
Method
- Lay the turkey slices flat on a cutting board, and if they’re thick, gently pound them to about 1/4-inch thickness for easier rolling.
- In a small bowl, mix the softened cream cheese with chopped herbs, lemon juice, salt, and pepper until smooth and fragrant—this creates a bright, herby filling.
- Spread a thin layer of the herb cream cheese mixture evenly over each turkey slice, leaving a small border at the edges for sealing.
- Tightly roll each turkey slice from one edge into a compact cylinder, then secure with toothpicks or kitchen twine if needed to keep their shape.
- Heat a tablespoon of olive oil in a skillet over medium-high heat until shimmering and fragrant, about 1-2 minutes.
- Add the turkey rolls to the hot skillet and sear for 2-3 minutes per side until golden brown and crispy on the outside, releasing a savory aroma.
- Transfer the skillet to a preheated oven at 180°C (350°F) and bake for 8-10 minutes, until the filling is bubbling and the exterior is crisp.
- Remove from the oven, let rest for 2 minutes, then carefully remove toothpicks or twine.
- Slice each roll into 1-inch medallions for a beautiful presentation, and squeeze a little lemon juice over for extra brightness.
- Arrange on a plate and serve immediately, garnished with extra herbs or lemon wedges if desired.
Notes
Pro tips for perfect turkey roll ups
- Start cold: Chill your turkey slices before rolling—cold meat is easier to handle and less likely to tear.
- Even spread: Use the back of a spoon to evenly distribute the cream cheese—avoid thick clumps for uniform melting.
- Secure tightly: Roll with a gentle but firm pressure—loose rolls won’t sear evenly and may unravel during cooking.
- Pan heat: Preheat your skillet thoroughly—look for shimmering oil before adding rolls to get that perfect sear.
- Watch the color: Sear until golden-brown, then finish in the oven—this keeps the exterior crisp and the filling hot.
- Rest before slicing: Allow the rolls to rest 2 minutes after baking—this prevents juices from spilling out and makes slicing cleaner.
- Adjust heat: If the rolls brown too fast, lower the heat—slow and steady wins the crispy exterior without burning.
Common mistakes and how to fix them
- FORGOT to dry the turkey slices, resulting in soggy roll-ups—pat them thoroughly before assembling.
- DUMPED the herbs into the filling all at once—add gradually, tasting for brightness and balance.
- OVER-TORCHED the rolls, causing them to burn—reduce heat and watch carefully in the final minutes.
- MISSED the resting step, making slices messy—rest for at least 2 minutes for cleaner cuts.
Quick kitchen fixes for sauces
- When sauce shimmers, splash a little broth to loosen clumps.
- If over-salted, add a splash of lemon juice or a teaspoon of honey.
- DUMPED the herbs too early? Shield with a lid to trap aroma and reheat gently.
- Splash a bit of water if the sauce cracks or thickens too much in the pan.
- Rescue a burnt pan by pouring hot water and scraping the bottom gently.
Prep, store, and reheat tips
- You can prep the turkey slices and herb cream cheese filling a day in advance. Keep them covered in the fridge; the filling will firm up slightly, making spreading easier and preventing dryness.
- Assemble and roll the turkey the night before, then store the rolls tightly wrapped in plastic wrap. They’ll stay fresh in the fridge for up to 24 hours, but the flavors deepen overnight—almost like a marinate.
- Reheat the rolls gently in a 180°C/350°F oven for about 8-10 minutes, or until heated through. The aroma of herbs will shimmer, and the outside will regain a slight crisp. Avoid microwave reheating, which can make the turkey rubbery and dull the texture.
- Leftovers keep well in the fridge for up to 2 days. The rolls may lose a bit of their crispness, but a quick reheat in the oven will bring back some of that initial warmth and aroma. Expect the flavors to mellow slightly, but still satisfying.
Top questions about turkey roll ups
1. Should I use warm or cold turkey slices?
Use thin, cold slices of turkey to prevent tearing and make rolling easier. Slightly chilled meat holds together better.
2. Can I make turkey roll ups in advance?
Yes, you can prepare the rolls up to a day ahead. Keep them tightly wrapped in plastic in the fridge.
3. How do I reheat leftover roll ups?
Bake or reheat in a low oven (about 180°C/350°F) until warmed through—about 8-10 minutes. Check for a fragrant aroma and slight crispness.
4. My rolls are falling apart, what can I do?
If the rolls are falling apart, chill them for 15 minutes. Use toothpicks to hold them during cooking if needed.
5. How do I slice the turkey roll ups cleanly?
Use a sharp knife to slice gently through the rolled turkey. Clean blade between cuts for neat slices.
6. What if the filling isn’t flavorful enough?
Adjust the filling by adding more lemon juice or herbs if the taste feels dull or flat. Fresh herbs make the biggest difference.
7. Can I make these without bread or tortillas?
Use lettuce leaves or cucumber slices instead of wraps for a lighter, crisp option. They hold well and add crunch.
8. How do I prevent the turkey from drying out?
Overcooking can make the turkey dry. Keep an eye on the sear; golden-brown edges are perfect, but avoid burning the herbs.
9. Can I make this dairy-free?
Yes, swap cream cheese with hummus or mashed avocado for a dairy-free version. Expect a different texture, slightly more earthy or creamy.
10. Which herbs are best for flavor?
Use fresh herbs like parsley or dill for a bright, herbal aroma that crackles slightly during cooking. Dried herbs work but are less vibrant.
These turkey roll ups feel like a little treasure in my kitchen—simple, honest, and satisfying. I like how they come together quickly but still hold a sense of care and flavor that makes them worth the effort.
In a busy week or a casual gathering, they’re a reminder that good food doesn’t need to be complicated. Sometimes, it’s just about wrapping up familiar tastes and sharing something warm and real. That’s what makes this recipe stick with me, season after season.

Hi, I’m Theo Granger, the voice and recipe creator behind Boldly Overseasoning.
If you believe salt is not the enemy, spices should be generous, and flavor should never whisper when it can sing, then you are absolutely in the right place. Boldly Overseasoning is my unapologetic celebration of big flavor, confident cooking, and trusting your instincts in the kitchen. I created this space for people who are done with bland food and ready to cook with courage.


Leave a Reply